- /
- /
- /
Add 3D Things to 3D Buildings or 3D Communities
By Aaron Dishno Ed.D.
For this tutorial, you will need at least one 3D Thing and a 3D Building or 3D Community.
If you need a 3D Thing, start with Create a new 3D Thing.
If you need a 3D Building, start with Create a new 3D Building.
I am going to use a 3D Building, but all of the same functionality and menus exist for a 3D Community.
Open your 3D Building
Since we are going to put the 3D Thing into a 3D Builing, it is the 3D Building we need to Edit. Opening it by selecting it in the menu.
Admin -> My 3D Buildings -> Select 3D Building
Choose your 3D Building from the list.
I am going to use the Demo 3D Building from our previous tutorials.
Add the 3D Thing
Navigate your Admin Menu to:
Admin -> My 3D Buildings -> Edit 3D Building
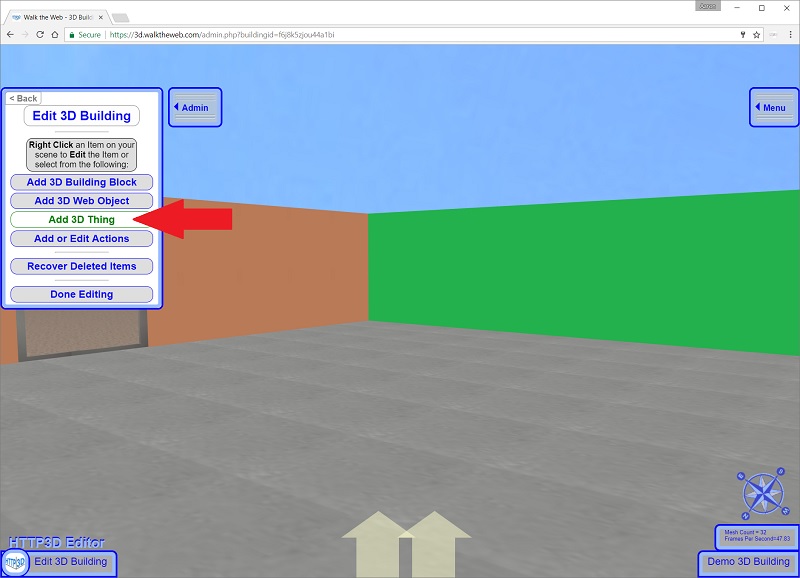
Start by Walking to the location you want to add the 3D Thing.
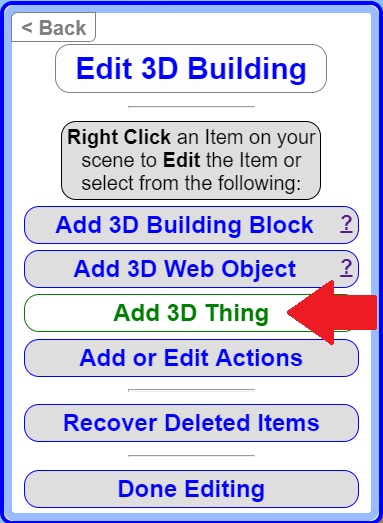
Click Add 3D Thing
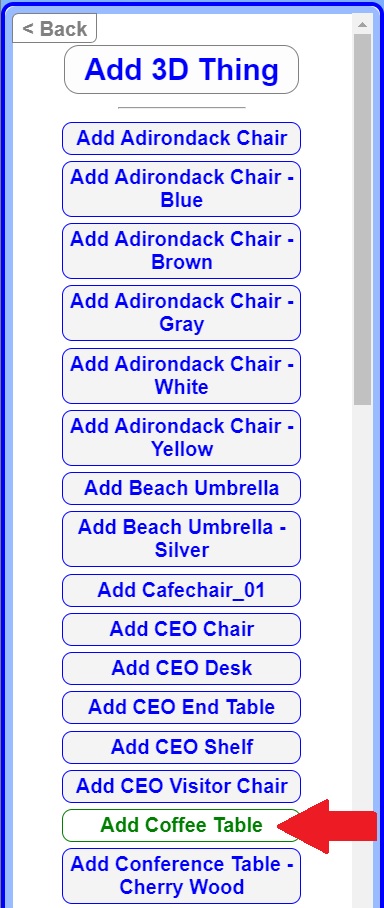
The list is all of your current 3D Things in alphabetical order by its Friendly Name.
Click the Coffee Table from our previous tutorial (or the 3D Thing you wish to add).
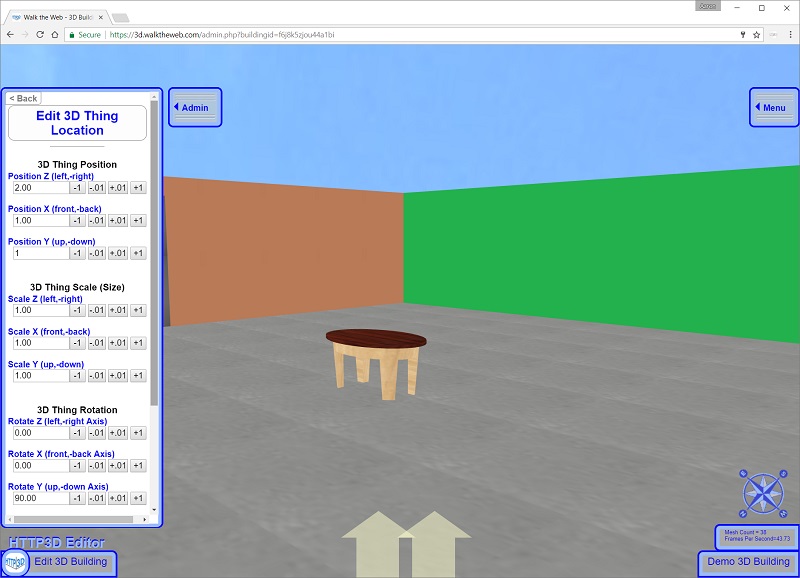
The Coffee Table will appear in your scene with the Edit 3D Thing Location menu window open.
If it doesn’t appear, try walking forward or backwards to trigger the Action Zone to load it.
Move it to where you like and click Save 3D Thing.
Notice when you move your mouse over the 3D Thing, all of its parts highlight together. It is a grouped 3D Object.
Right-Click it, you can Edit its location.
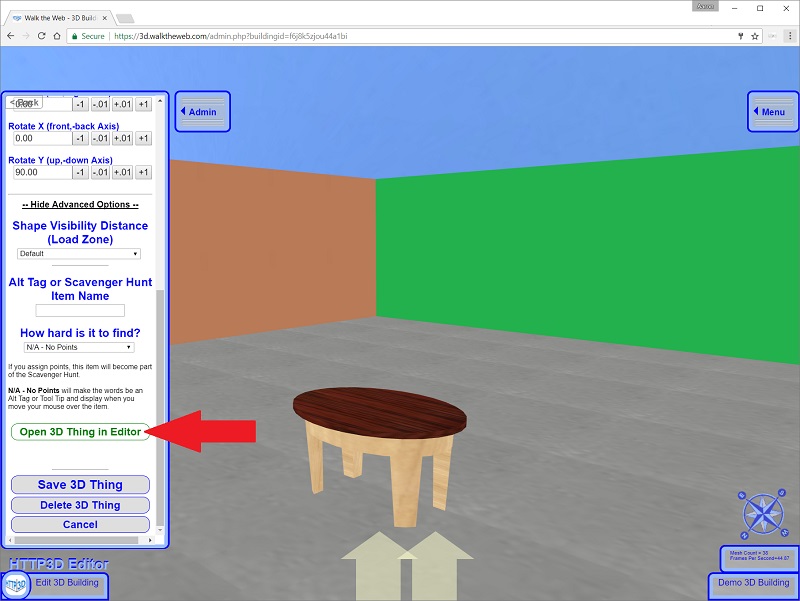
If you need to make changes to the 3D Thing, there is a short cut to opening it in the editor.
Just Scroll Down and click Open 3D Thing in Editor.
Reopen your 3D Building
In this next section I will talk about the Load Zones for 3D Things.
Opening it by selecting it in the menu.
Admin -> My 3D Buildings -> Select 3D Building
Choose your 3D Building from the list.
I am going to once again use the Demo 3D Building from our previous tutorials.
Right Click the Coffee Table (Your 3D Thing) to Edit it.
3D Thing – Load Zones
By Default, a 3D Thing has 3 Load Zones (Normal, High, and Extreme). 3D Things may also have Custom Load Zones included.
For more information see the Load Zones Tutorial.
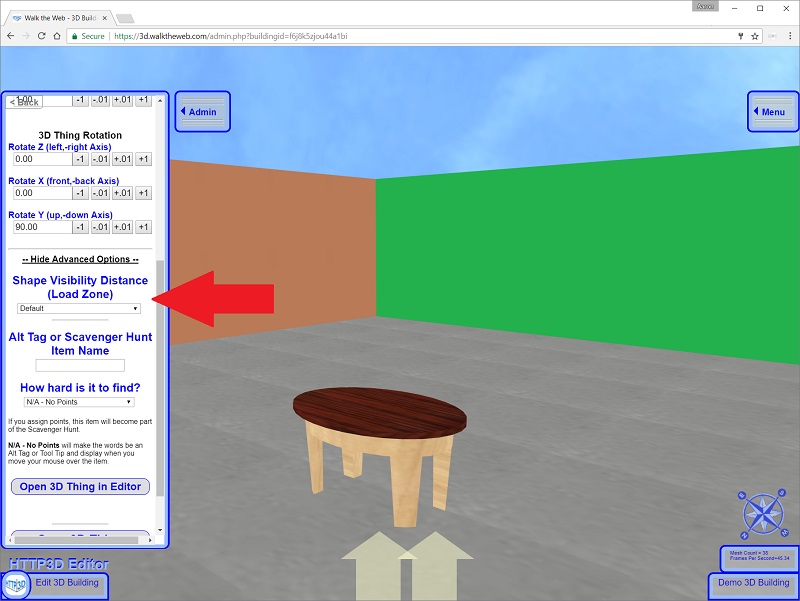
Since we added the 3D Thing to a 3D Building, we now have the option to force the 3D Thing to load as part of one of the 3D Building’s Load Zones.
Click Show Advanced Options and find the section for Shape Visibility Distance (Load Zone).
Default setting keeps the original 3D Thing Load Zones.
This Default setting is ideal for Light posts, Street Signs, Park Benches, or other 3D Things that stand alone in a 3D Building or 3D Community.
With the Default setting, you will be loading the 3 Load Zones and any custom load zones that are part of the 3D Thing. This adds to the overall number of loaded objects in your scene which can slow down your scene animation and require more resources for the user’s computer.
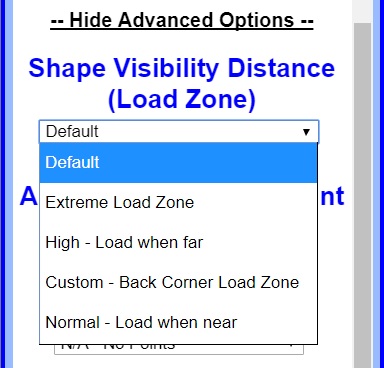
Notice one of the options is our Custom – Back Corner Load Zone we created when we made the 3D Building.
Since the Coffee Table we added is in the center of the 3D Building, I am going to have it load as part of the 3D Building’s Normal Load Zone.
Select Normal – Load when near.
Click Save 3D Thing.