- /
- /
- /
Create a New 3D Community
By Aaron Dishno Ed.D.
Introduction
A 3D Building is a website in 3D Browsing. I needed something to tie 3D Buildings together so that the users could Walk from one website to another.
I invented the 3D Community as a Connecting Grid
to join 3D Buildings together for 3D Browsing.
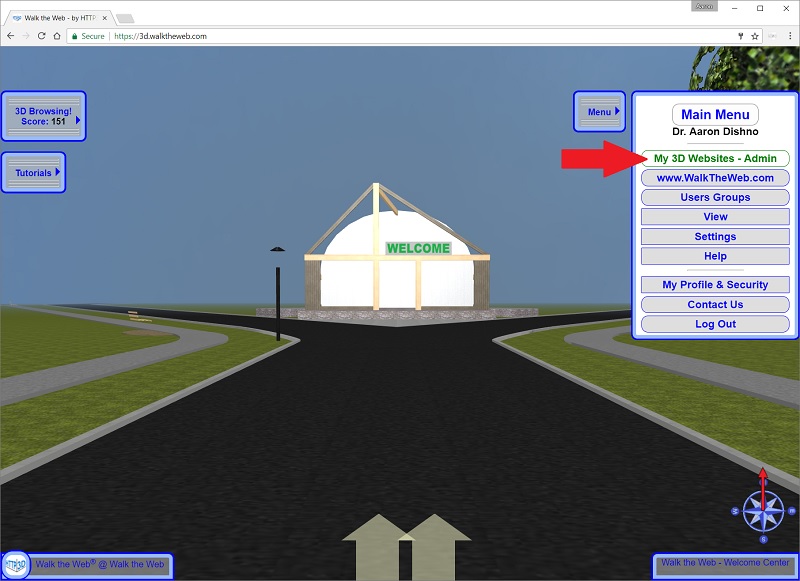
Go to https://3d.walktheweb.com and log in.
(Create a login if you haven’t already. The www.walktheweb.com website shares the same login credentials).
Next, select
Menu -> My 3D Websites Admin
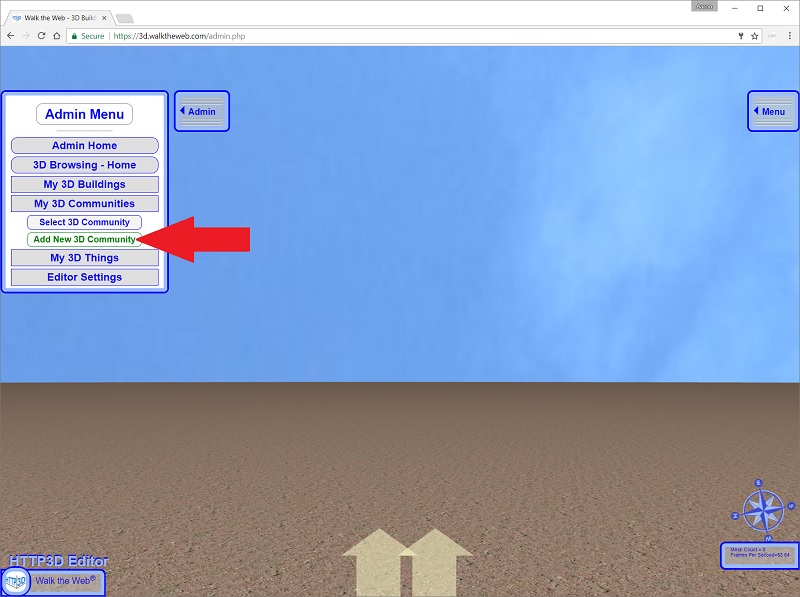
Create a new 3D Community
To Create a new 3D Community select
Admin -> My 3D Communities -> Add New 3D Community
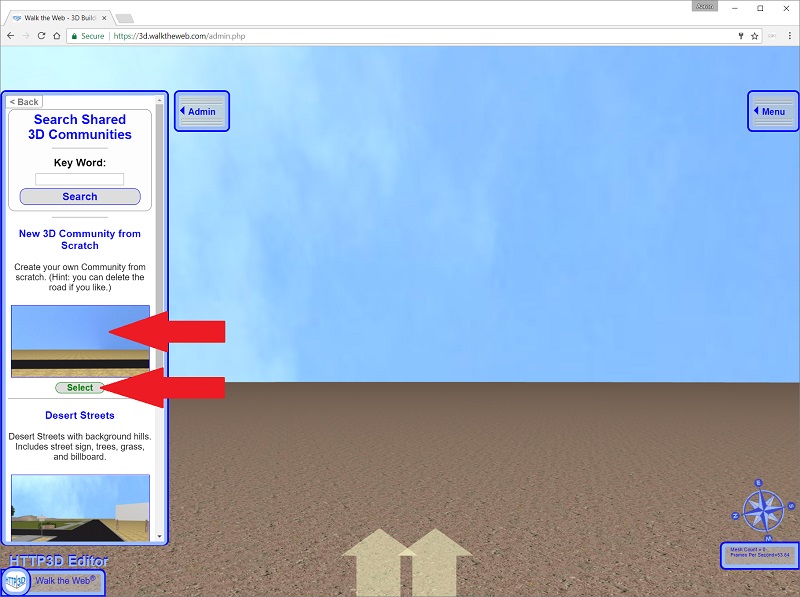
For this Tutorial, we will start from scratch so select the Image or Select button for
New 3D Community from Scratch.
Normally, you can search 3D Community Templates by a key word like: mountains, islands, desert, winter, woods, etc… The search checks the Title, Description, and Tags on the Shared Templates.
The last step is to Name your new 3D Community.
For this tutorial I will use Demo 3D Community
Also note the Publish Name under the 3D Community Name. If you click that link it will open in a new window. This is the path to 3D Browse this 3D Community (Walk mode opposed to Admin mode). This is the link you would share!
(We will set up Google Analytics in a later tutorial)
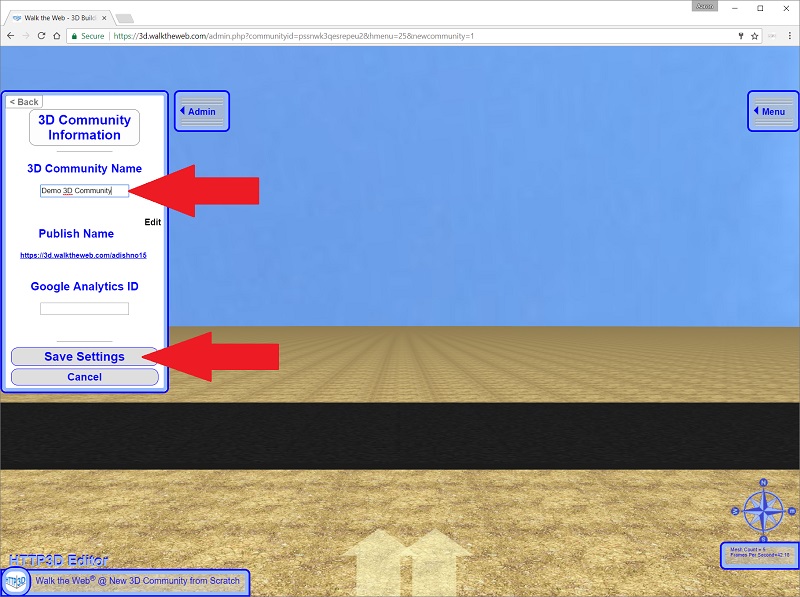
Click Save Settings
You have now created a new 3D Community! It is that easy!
If you need to return to these 3D Community Information settings, they can be found at:
Admin -> My 3D Communities -> Settings and Tools -> 3D Community Information
Of course, we are not done. We need to make more than a name, it is time to Edit it.
Let’s begin Editing a 3D Community by setting the Scene.