- /
- /
- /
Custom Load Zones – Action Zones
By Aaron Dishno Ed.D.
In the last tutorial we learned about Load Zones. These were the Default Load Zones for all 3D Objects.
In this tutorial I will show you how to create and use a Custom Load Zone.
Demo a Custom Load Zone
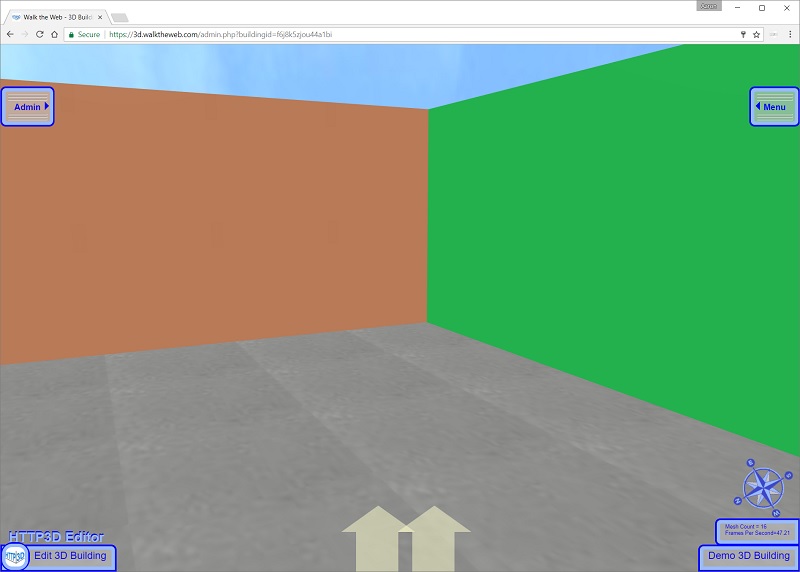
Before we do, in the back corner of the room, create a sphere. For this demo, we will make the Sphere load and unload with the Custom Load Zone.
To do that, Walk inside the room, Pan so that you are viewing the corner (not too close) then click the menu option:
Admin -> My 3D Buildings -> Edit 3D Building -> Add 3D Building Block -> Add Sphere
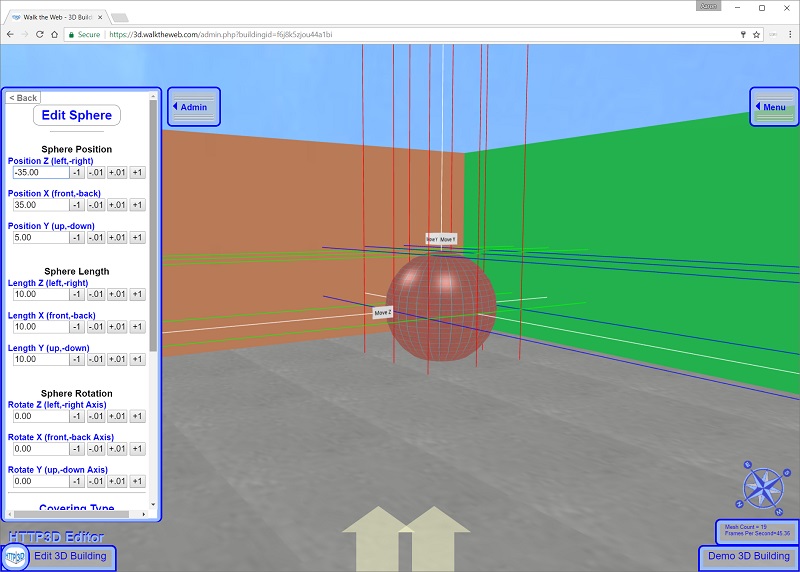
Your Settings and Texture can be whatever you like.
Scroll Down to the bottom and Click Save Sphere.
Now we have a 3D Building Block for the test.
Create the Custom Load Zone
Next, Create a Custom Load Zone using the following steps.
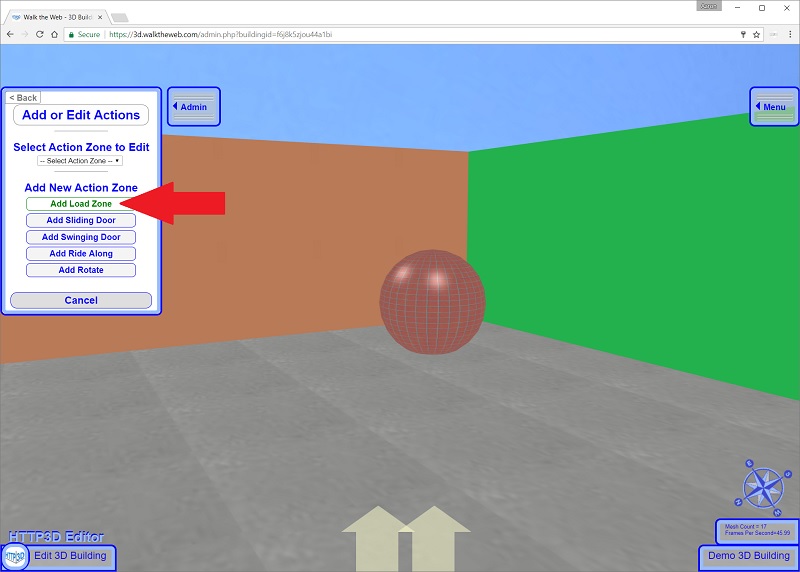
Navigate your Admin Menu to:
Admin -> My 3D Buildings -> Edit 3D Building -> Add or Edit Actions
Click Add Load Zone
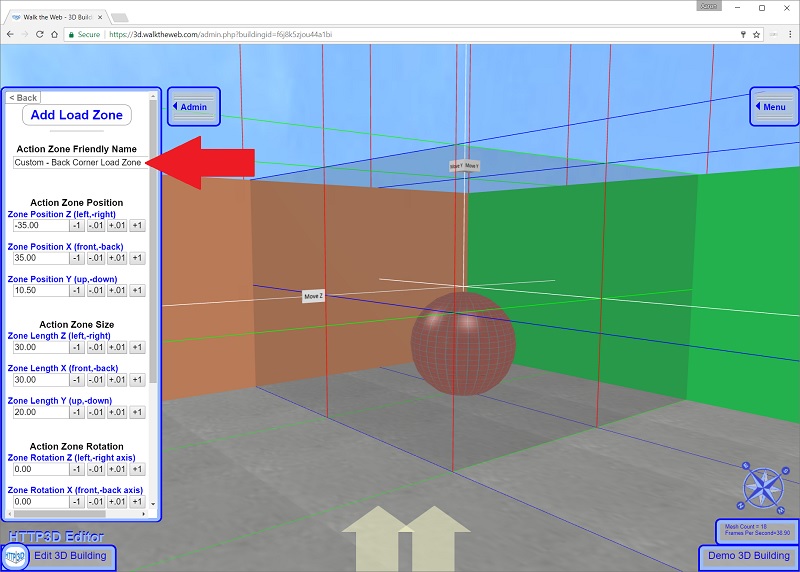
Set the Action Zone Friendly Name. This name is only used for you to reopen it if you need to Edit the Load Zone. Note that all Custom zones must start with the word Custom – or the system will add it automatically.
Center the Load Zone on the Sphere.
Set Z = 30 units and X = 30 units.
Scroll to the bottom of the Edit Action Zone Menu and note that the Action Zone itself gets loaded when the Avatar moves into a particular Load Zone. By default, it is part of the High – Load when far zone.
A small Custom Load Zone like this example can easily be moved to load in the Normal – Load when near zone. Go ahead and set it now.
If you were to create a large Custom Load Zone or one outside the 3D Building, you may need to load the Custom Load Zone sooner (set it to High – Load when far or even Extreme Load Zone).
The theory is to not load any more than you need at any point in time so that you save resources for other things. When an Avatar walks in front of the 3D Building, it does not need to load this sphere. If they walk inside the 3D Building it is needed.
Now click Save Action Zone.
Attaching 3D Objects to the Custom Load Zone
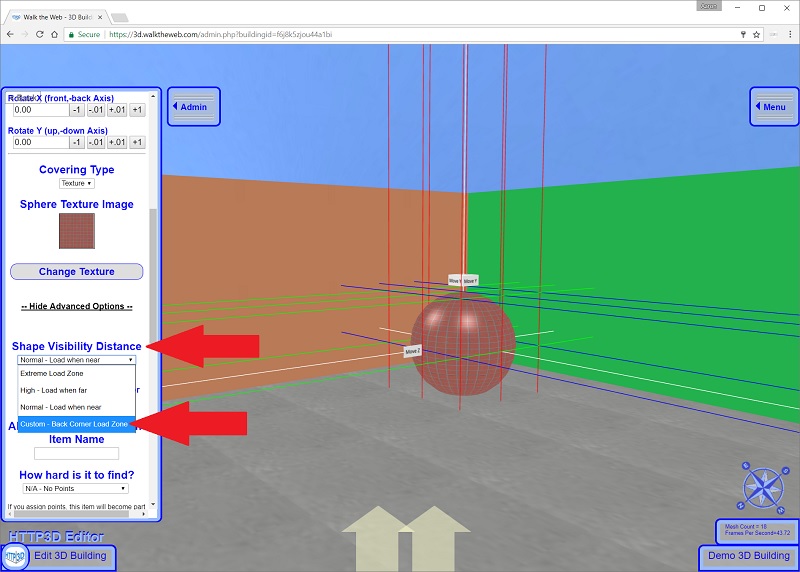
For each 3D Object you wish to load when you Walk into this Custom Load Zone, you will need to set the Load Zone (Labeled: Shape Visibility Distance).
To do this, Edit the Sphere (move your mouse over the sphere and right-click).
Scroll down and click the Show Advanced Options link.
Under Shape Visibility Distance you will see the Custom Load Zone friendly name you created above. Select it.
Click Save Sphere.
Currently you will need to reload the page (this need may be eliminated in the future.)
See it in Action
When you Walk side your 3D Building, the Sphere is not there.
Walk into the Custom Load Zone (towards the corner). The Sphere gets loaded.
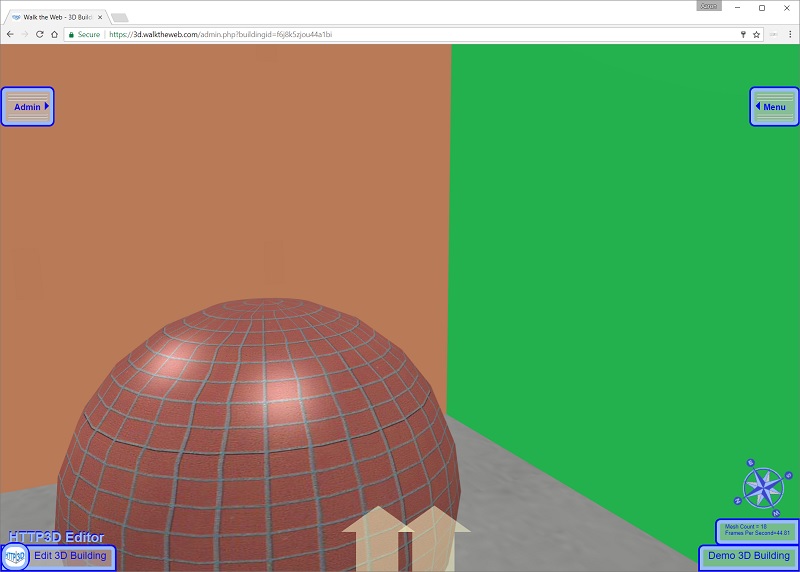
This demo used a Custom Load Zone to hide a 3D Object until you are near it.
Note that if we change the Custom Load Zone Dimensions to X = 1000 and Z = 1000, the sphere can be seen for a great distance from the 3D Building.
These two concepts allow a great degree of control to WHEN 3D Objects are loaded.