- /
- /
- /
3D Community Add New Ground Terrain
By Aaron Dishno Ed.D.
Before I Add the new terrain, I want to delete the default street in our 3D Community.
With your mouse, right-click the street.
You will see the edit box in the menu window. Scroll to the bottom and click Delete Floor.
Navigate to:
Admin -> My 3D Communities -> Edit 3D Community -> Edit Landscape and Scene
Click Add New Ground Terrain

Add New Ground Terrain
Ground Terrain includes mountains, islands, rock formations, and any other heightmap based elevation 3D Objects.
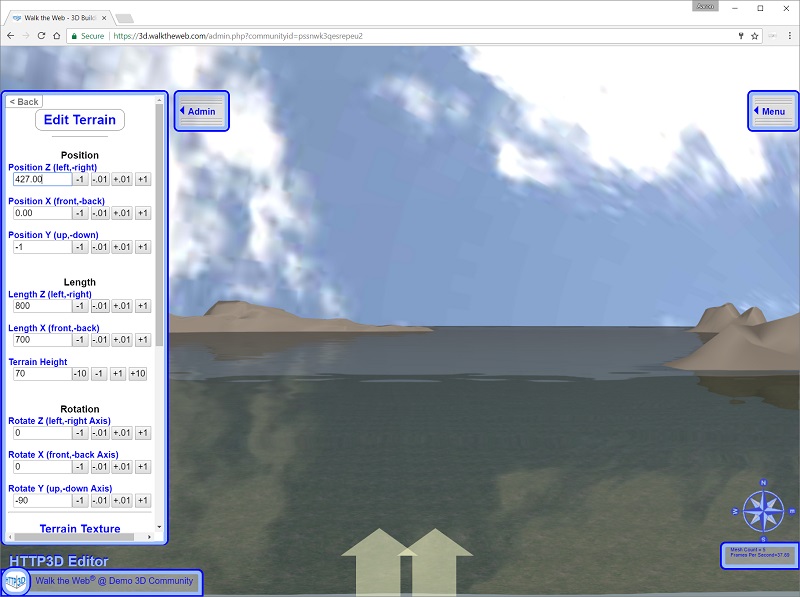
You will see the Edit Ground Terrain window and some mountains in the distance.
Before you move or resize the terrain, scroll down to Heightmap Image
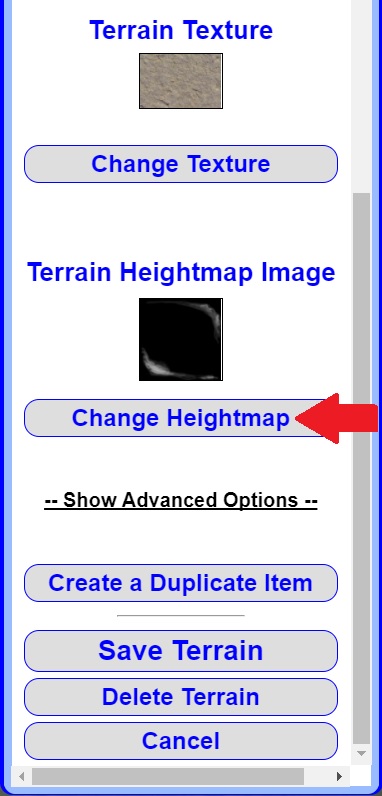
Select Change Heightmap
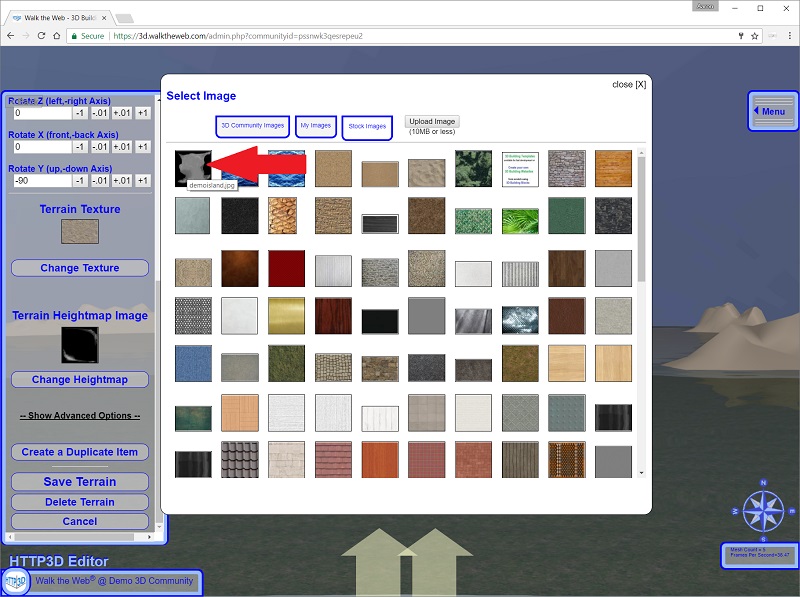
Select DemoIsland.jpg from the Stock Images.
With Gravity Off, you can Pan the view towards the sky and Walk forward to get a better view of the landscape.
Notice the landscape has a gray rectangle around it? See the picture below.
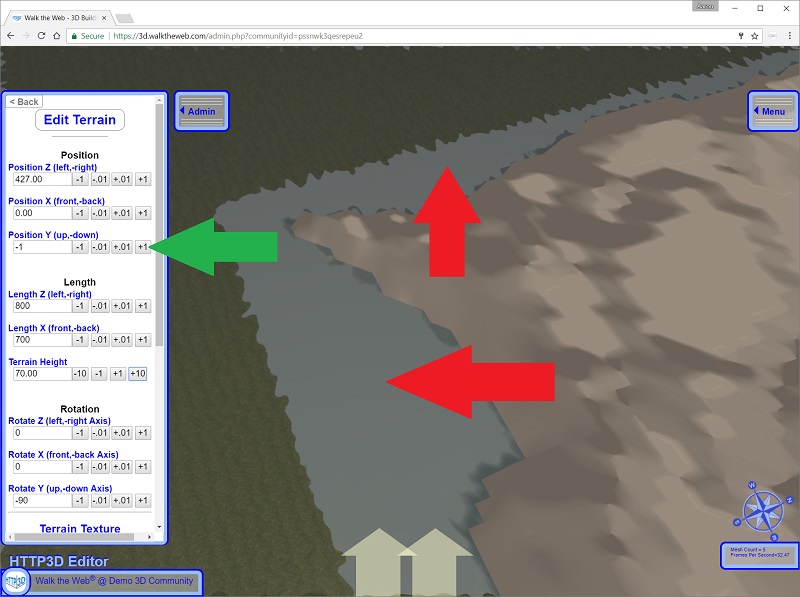
This is because the black (lowest) part of the Heightmap Image is above the Extended Ground.
If you lower the Landscape until it is below the Extended Ground the Gray Rectangle will disappear.

Now set the following settings:
- Position: Z = 0.00 X = 0.00 Y = -16.00
- Length: Z = 1500.00 X = 1500.00 Y = 40.00
- Rotation: Z = 0.00 X = 0.00 Y = 0.00
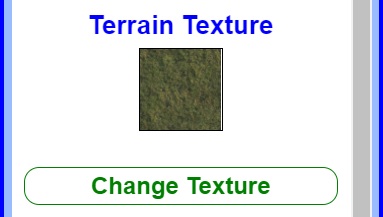
Click Change Texture
Set the Texture to the same image as the Extended Ground (grass.png)
Click Show Advanced Options
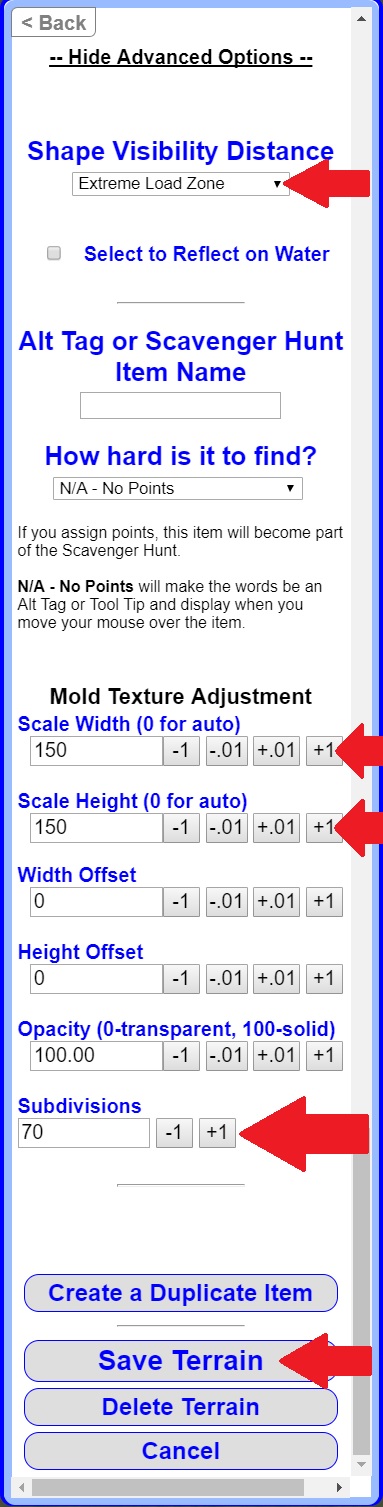
Shape Visibility Distance (Load Zone) is the Extreme Load Zone by default. For more information on Load Zones, see the Load Zone Tutorial.
Texture Adjustments are used to Scale or Offset the Image on a surface of a 3D Building Block or Terrain.
For a Terrain, it is common for the Scale to be
10% of the Length Setting.
- Scale Width = Length Z * 0.10
- Scale Height = Length X * 0.10
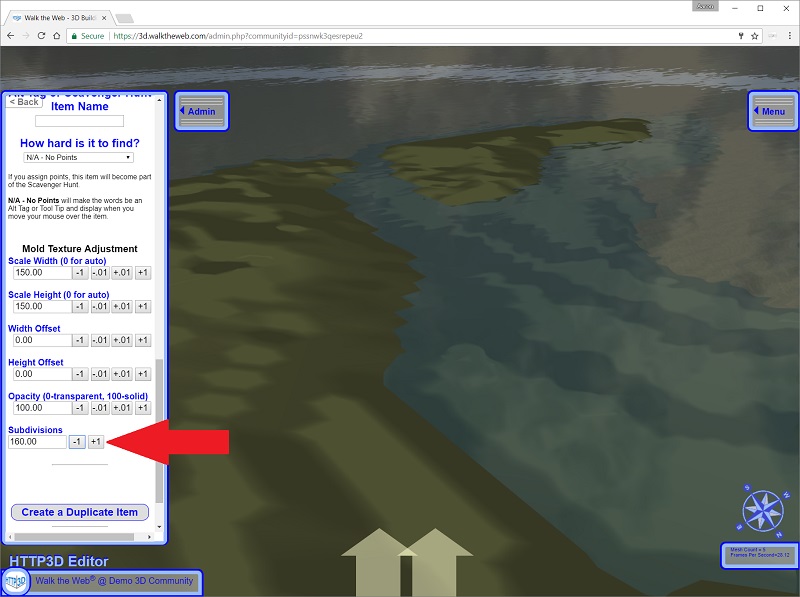
Subdivisions help determine the number of planes (triangles) used to make the Terrain.
The less subdivisions, the less details and angles will show.
The more subdivisions, the more details and angles will show.
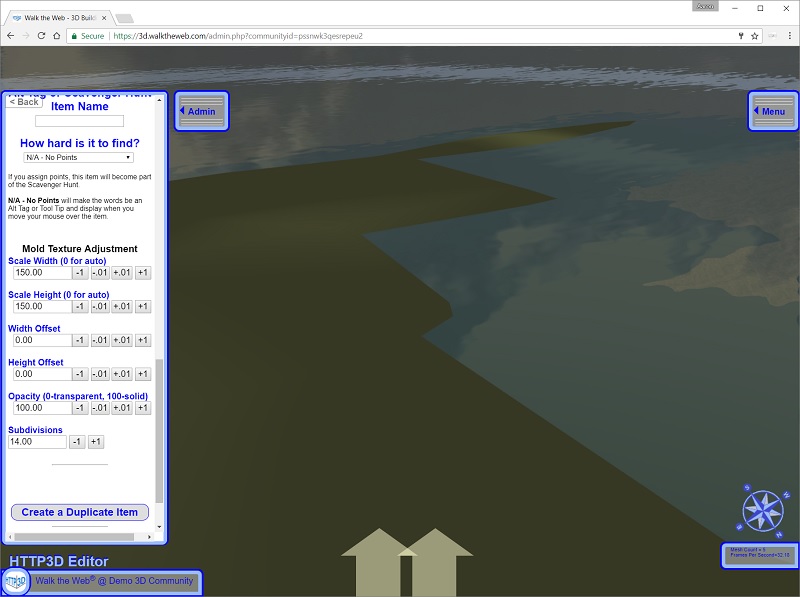
To demonstrate, take a look at the following images of the shoreline.
A low number of subdivisions makes the shore very square and straight.
A high number of subdivisions makes the shore smoother and more detailed, but can slow down the scene animation and require more resources. The subdivisions not only defines the shoreline better, but enhances the changes in height shown by the shading.
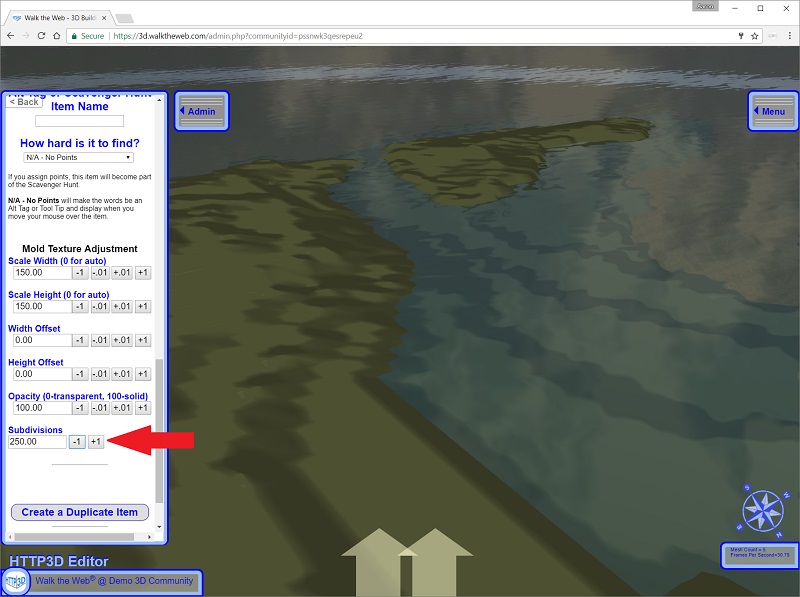
The perfect mix of subdivisions is to pick the lowest amount that still gives you the shape and details you would like to see. I chose subdivisions = 160.
Click Save Terrain.
You have explored the following Landscape and Scene Settings and you should now have an Island 3D Community (here were the Tutorials we completed):
Next, we need to Add 3D Building to your 3D Community