- /
- /
- /
Coverings or Textures
By Aaron Dishno Ed.D.
When you added your 3D Building Blocks (3D Shapes), Create a 3D Building – 3D Building Blocks I showed you how to create walls for your first 3D Building. Another feature of 3D Building Blocks is the ability to add and change the textures or Coverings.
Selecting Coverings and Textures
To begin, you can set the covering or texture image while editing a 3D Building Block. At any time you can return to editing the 3D Building Block by moving your mouse over the item and right-clicking your mouse.
Scroll down the edit menu to the section starting with Covering Type.
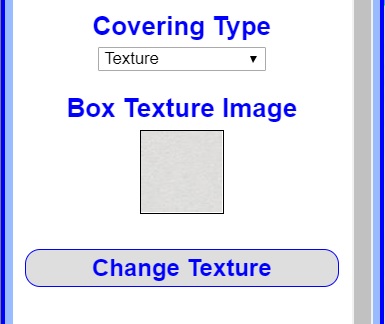
Change Texture – Stock Images
Start by clicking the Change Texture Button (shown in the illustration above).
This will open the Image Select Window.
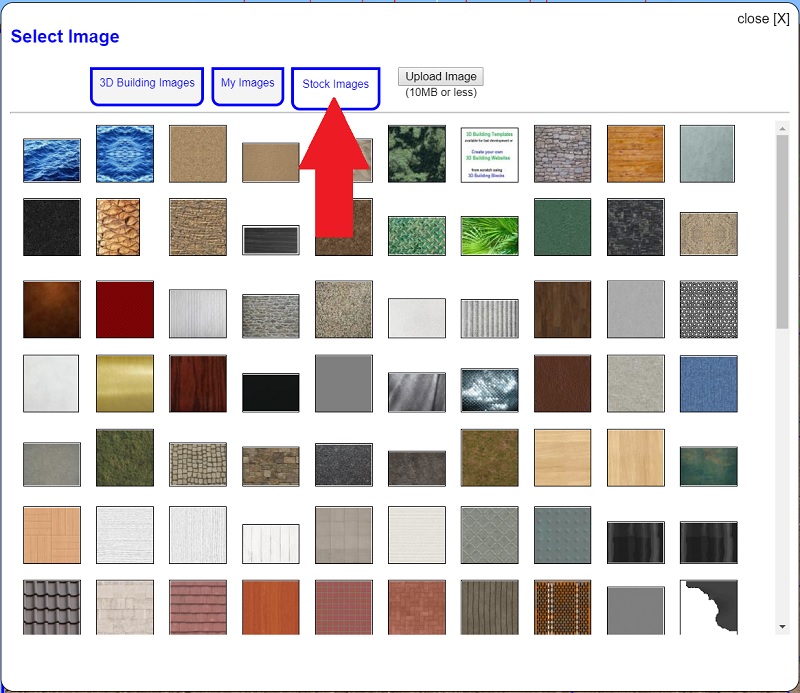
When you Mouse over an image, it will show you the name of the file. Click an image to choose it.
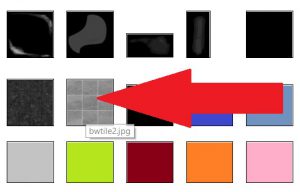
When you select an Image, it will close the window and apply the image to the 3D Building Block. (If it has trouble updating the texture, Save the 3D Building Block and refresh your screen).
Scroll Down and click the Save button.
Change Texture – 3D Building Images
When editing a 3D Building Block, click the Change Texture Button.
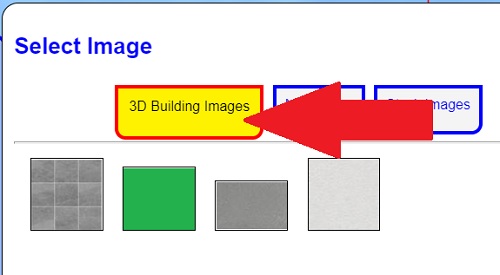
The First Tab will be labeled after the object you are editing; 3D Building, 3D Community, or 3D Thing. These images are the images currently used for that object.
This makes it easy to reuse the same images in a scene without having to hunt through the other tabs and images.
If you are working with others on your object and someone else uploaded and used a custom texture, you will be able to find it here.
Change Texture – Custom Images
When editing a 3D Building Block, click the Change Texture Button.
The Second Tab, My Images holds any images you have uploaded while working on any of your 3D Objects.
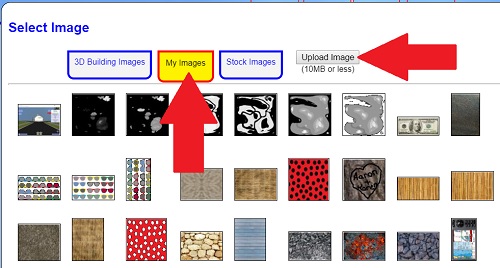
Just click the Upload Image button to select an image from your computer.
After you select the file, it will automatically start uploading. You will see it as the top left image when it is done. It also resizes the image and saves it in different resolutions that are used when 3D Browsing in different graphics settings.
It is recommended to be at least 512 X 512 resolution.
Uploaded Images do not need to be square, they will stay proportional to the original and be resized to fit into the 512 X 512 box.
The sizes created for the graphic settings used are:
- Thumbnail at 80 X 80. Thumbnails are shown in the Select Image window and used with Low resolution graphic setting.
- Medium Size at 256 X 256. Medium images are used with the Medium resolution graphic setting.
- Full Size at 512 X 512. Full Size images are used with the High resolution graphic setting.
- Original Size is saved as uploaded. The original size images are used with Extreme High resolution graphic setting and reserved for future enhancements or changes.
After your image shows in the window, click the thumbnail to select and apply it to your 3D Building Block.
Covering Types
Covering Type drop-down options may change depending on the 3D Building Block you are editing.
Here are some basic Covering Types:
Texture: This is the general most common texture setting to use. It is a quick add of texture that works best with textures that do not require direction (explained next). These textures load and animate faster than the others.
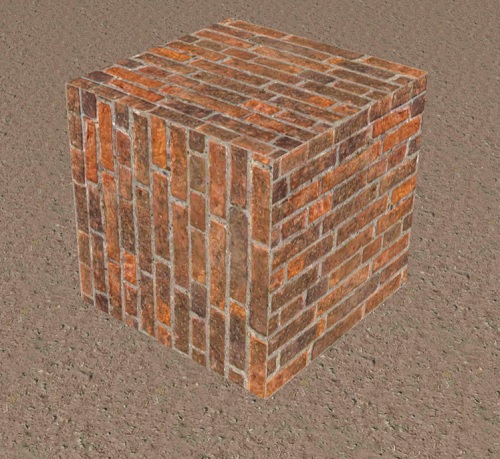
Directional Texture: This is like a general texture except that it has the sides rotated to be the same direction. At this time, this is only available for six sided shapes (Box, Floor, Walls). The Front, Back, Left and Right sides are orientated the same; and the Top and Bottom are oriented the same. Directional Textures take more time to load and render, which can cause a slower animation if you have too many shapes using it. (Too many is dependent on the graphics quality of the user’s computer). Notice the brick direction in the picture below compared to the general texture above.

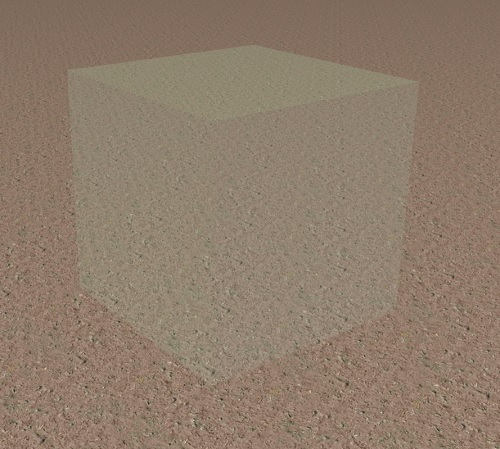
Glass: This is a quick way to make something partially transparent with a slight reflection of light. It is a good source of creating windows. It does not load a texture image so it loads and renders faster in animation.
For more information and advanced alternatives to glass see this tutorial.
Hidden: This is a special property that allows you to create invisible shapes with no texture or light reflection. Hidden 3D Building Blocks make great boundaries to your 3D Scenes. They can guide the user in certain directions or deny access to an area.
2D Texture: This is equivalent to a general texture but specific to two dimensional planes. It applies only to planes and discs.
Water: This is a rippling, moving surface that can take on reflections and refractions of other 3D Object Textures. This Water Texture can only be added to planes and discs.
Continuing on Creating a 3D Building, go ahead and right-click each of the four walls created in the previous lessons and select a texture.
Next, I will show you an important lesson in Aligning 3D Building Blocks.
2 thoughts on “Coverings or Textures”
Leave a Reply
You must be logged in to post a comment.
I don’t even know how I ended up here, but I thought this post was great.
I don’t know who you are but definitely you are going to a famous blogger
if you aren’t already 😉 Cheers!
Thank you for the kind words!