- /
- /
- /
Windows and Transparency (Opacity)
By Aaron Dishno Ed.D.
Cutting Holes for a Window can be found on the Merging Shapes tutorial.
Simple Windows and Glass
Adding a simple window is basically adding a 3D Building Block and setting it to a glass texture.
Here are the steps.
First, Pan and Walk to move your position in front of the Window Cut Out.
Select menu option:
Admin -> My 3D Buildings -> Edit 3D Building -> Add 3D Building Block -> Add Box
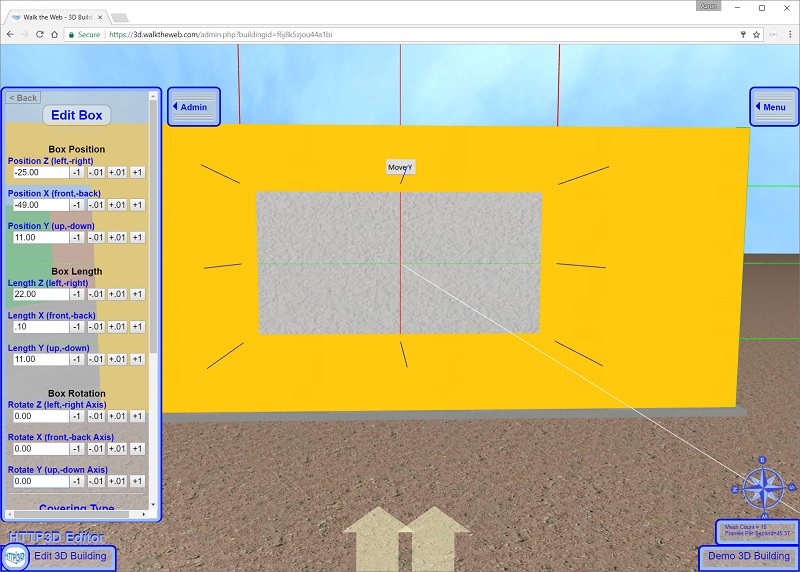
Center the Box in the center of the Window Opening.
Set the Window Thickness to .10
Then Resize the Box and so that it is Wider and Taller than the Window Cut Out. The Guide Lines will help you align the size.
It should look something like this:
Next, scroll down to the Covering Type drop-down.
Select Glass.
and Save Box.
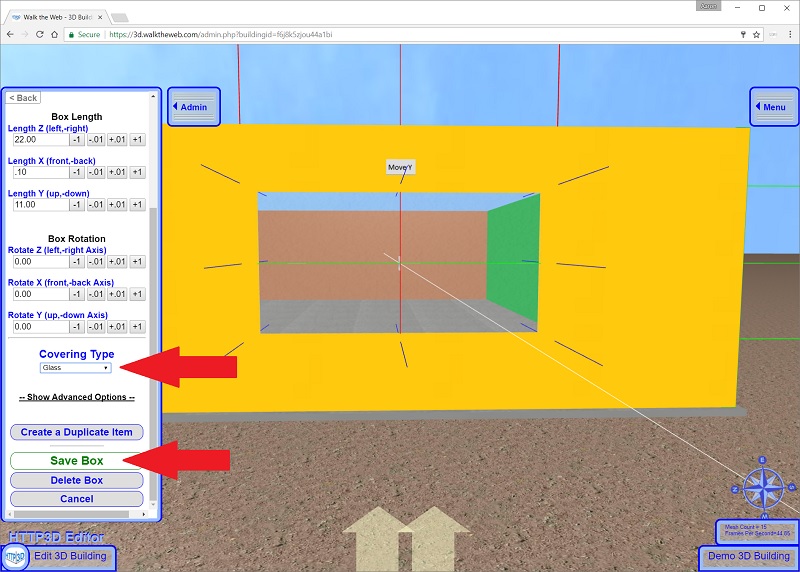
You now have a Simple Glass Window.
Transparency (Opacity)
If you would like more control over the way a window looks, you can use a transparency (Opacity) setting and a texture.
To begin, Edit the window you just created (move your mouse over the window and right-click your mouse).
Change the Covering Type (drop-down) to Texture.
Then click the Change Texture button.
Select an image, note that choosing:
- a solid color will produce a window tinted in that color,
- pattern would show a texture,
- partial transparency allows partial images,
- and a full image could be used to show ghost images or a stained glass look.
Select the link to Show Advanced Options
and Scroll down to the Opacity setting.
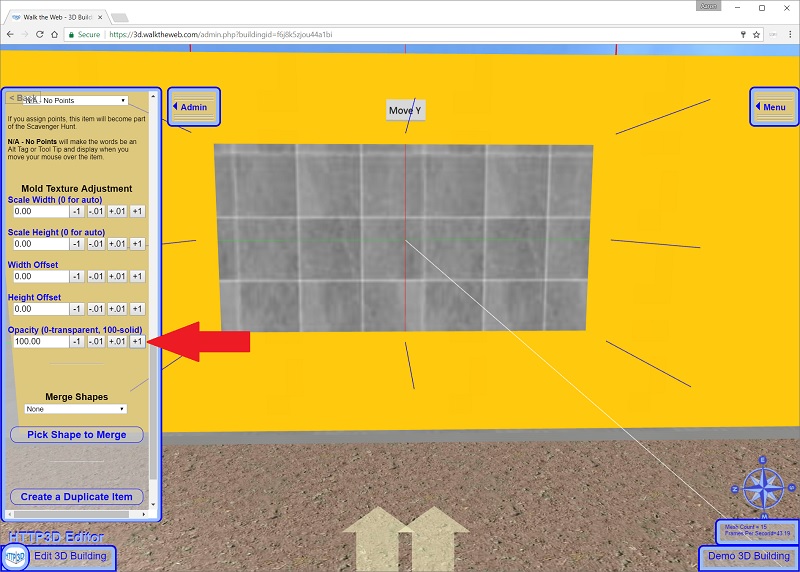
As you lower the number, the Opacity will change to make it transparent.
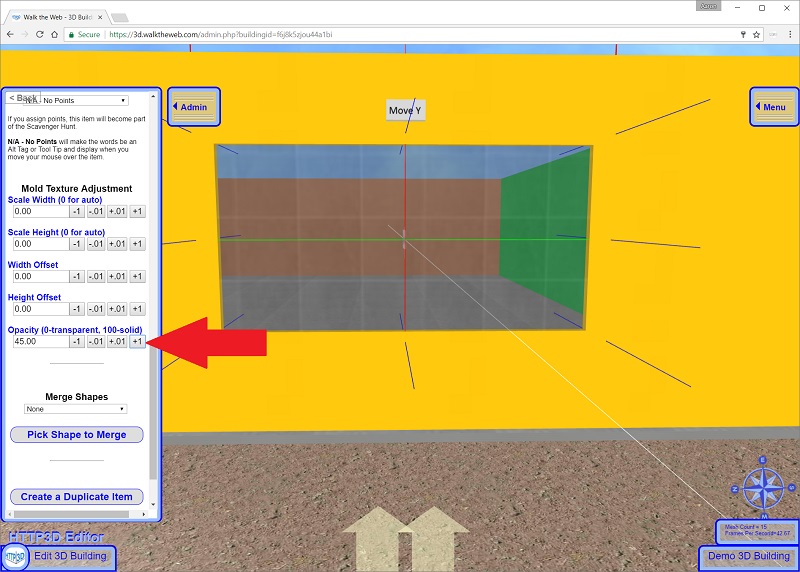
Click Save Box and you are done!
Next, we need an Introduction to Action Zones.